Calem Blogs
How to Implement Inventory Kit in Calem
Inventory kit is introduced in the coming release of R21. It allows one to group parts together based on usage and increase productivity in inventory purchase and checkout. The steps to implement kit are covered below.
- Define a kit for a set of parts that are used together for a maintenance task.
- Use the kit in a requisition to purchase the set of parts
- Select a kit to checkout to a work order instead of checking out a part one at a time.
1. Define a Kit Item
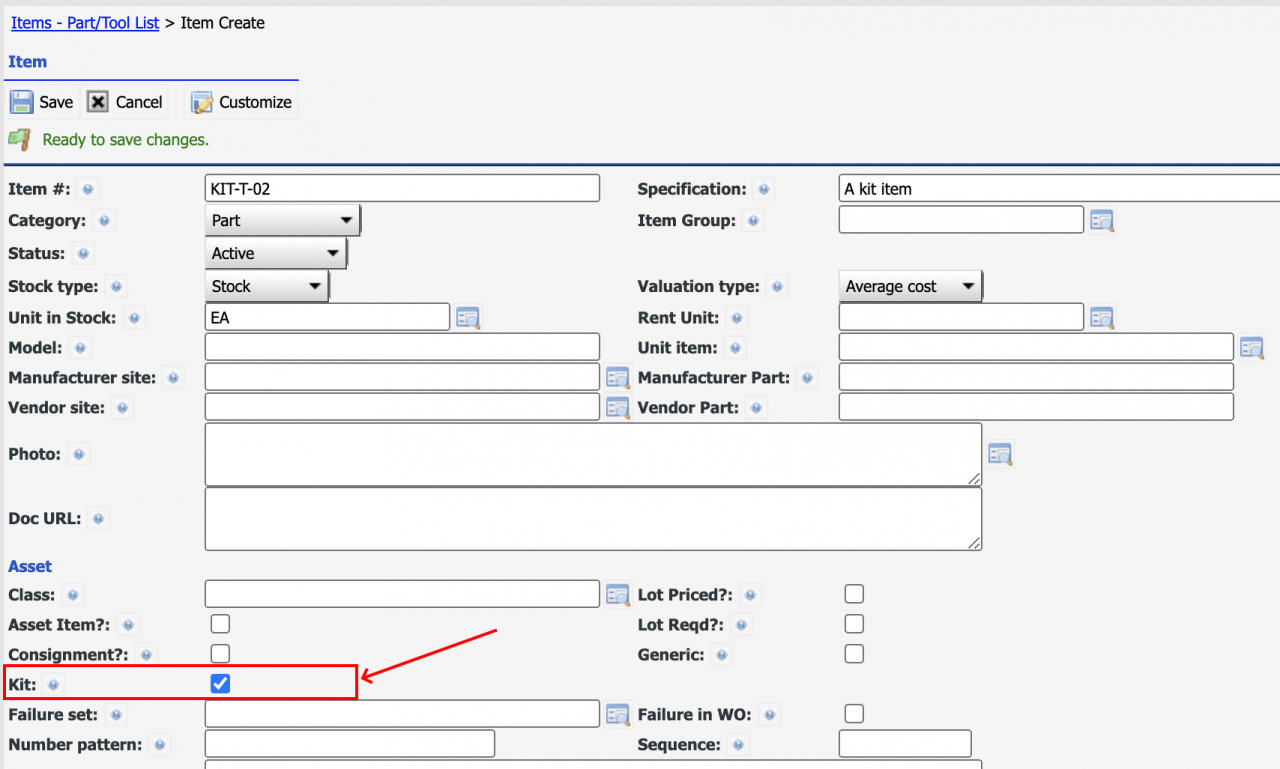
A kit item is an item with "Kit" checked.
- Menu path: Inventory | Items - Part/Tool | Create an item
- Set "Kit" flag checked
- Save the item
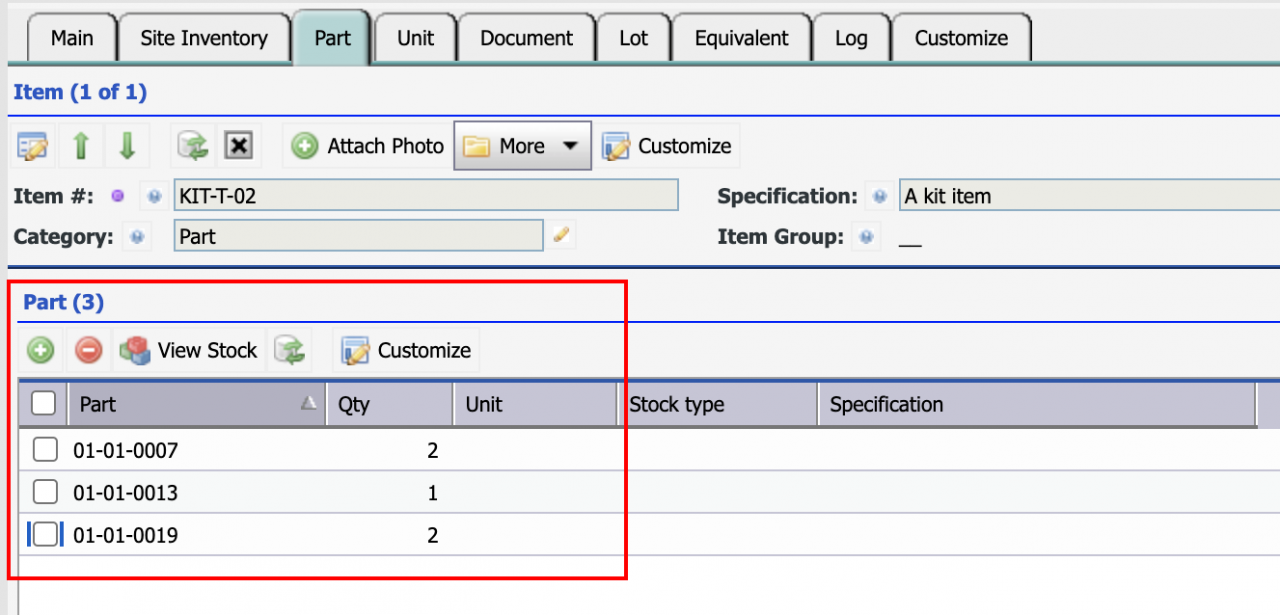
- Go to the "Part" tab to add items and quantities.
2. Assign Kit Item to Sites
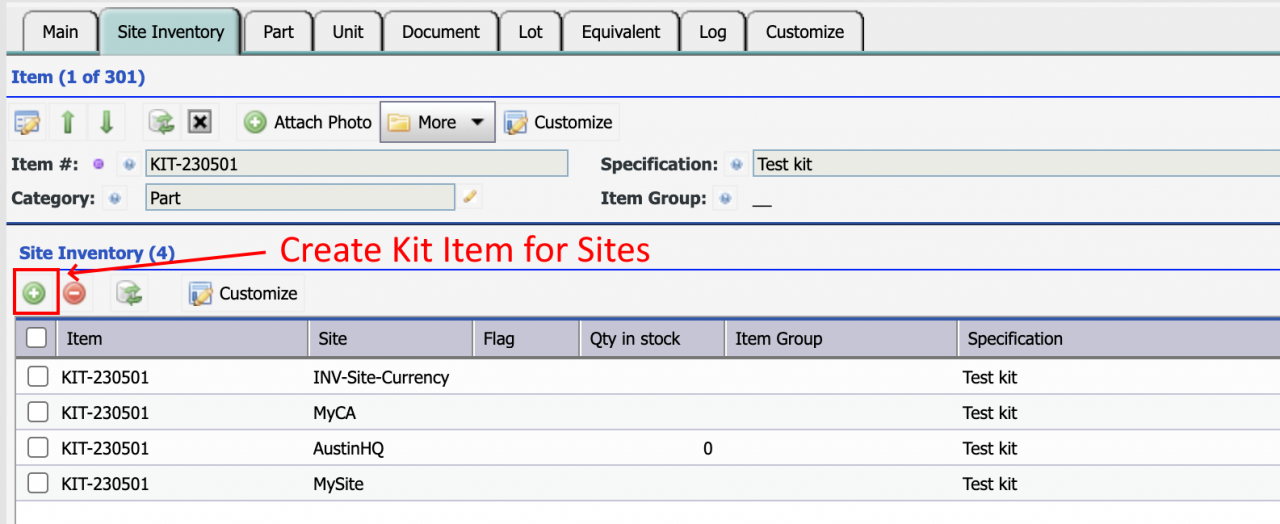
Next, assign a kit item to a site so the site can use the kit item.
3. Use Kit in Requisition
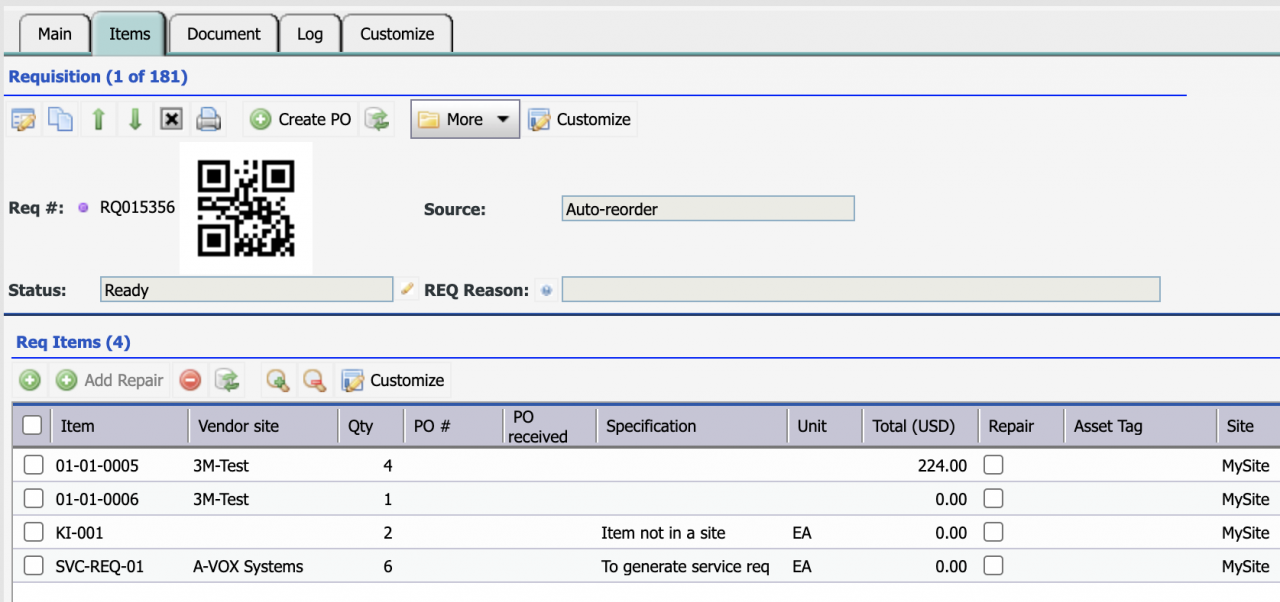
One can add a kit item to the requisition items to streamline the purchase of items in kits.
Select kit items from the item lookup to add items in kits.
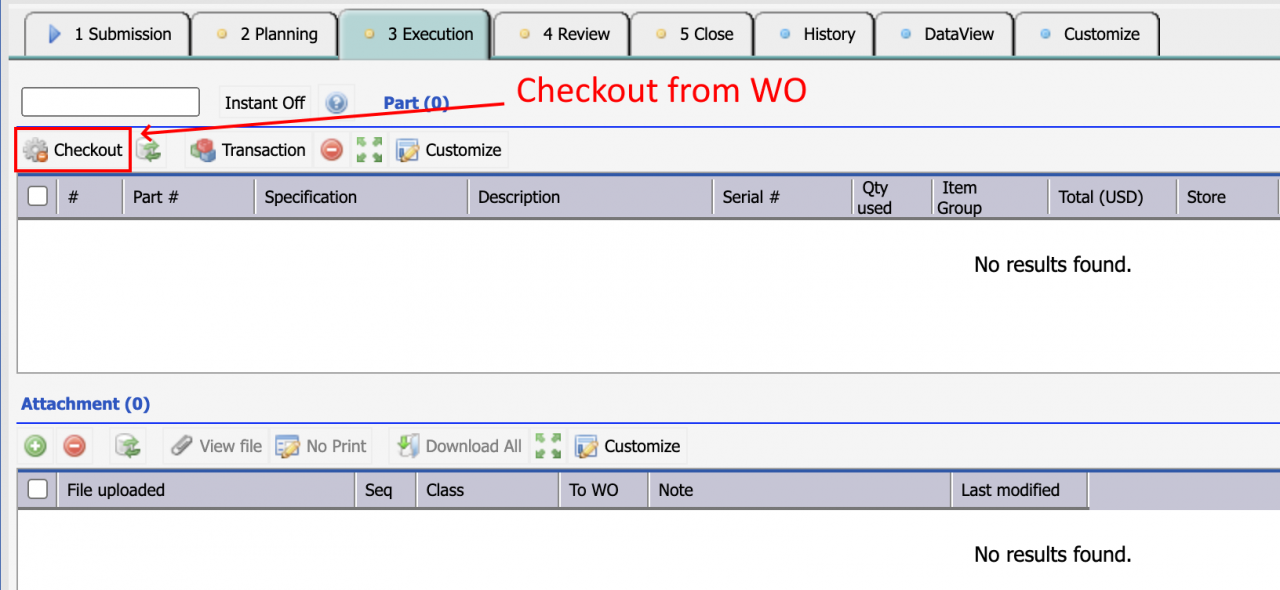
4. Checkout Kit Item to Work Orders
When checking items from inventory select "By Kit" to check out parts by kit.
- Menu path: Work Order form | Part list | Checkout
- Menu path: Inventory | Transaction | Checkout - select work order for checkout
- Select "By Kit" in the stock lookup to checkout kit
- Select a kit and confirm the parts in the kit
Additional Resources
Related Posts
By accepting you will be accessing a service provided by a third-party external to https://calemeam.com/
